Quick Answer: To jump start your aquarium cycle, seed your new tank with beneficial bacteria using established filter media, bottled bacteria products, or a combination of both — then maintain optimal water conditions so those bacteria can multiply fast. Done right, you can compress the nitrogen cycle from the usual 4–8 weeks down to as little as 24–72 hours. Your tank is fully cycled when ammonia reads 0 ppm, nitrite reads 0 ppm, and nitrate is detectable and rising.
Knowing how to jump start an aquarium cycle is the single most valuable skill a new fishkeeper can learn. New tank syndrome — the ammonia and nitrite poisoning that kills fish in newly set up aquariums — is almost entirely preventable, yet it remains the number-one cause of early fish death in the hobby. This guide covers six proven methods to jump start your aquarium cycle, the water chemistry that makes or breaks them, and exactly how to confirm your tank is ready for fish.
The six methods covered:
- Seeded filter media transfer
- Bottled bacteria products
- Pure ammonia fishless cycling
- Fish-in cycling
- Planted tank silent cycle
- Substrate and gravel transfer
The Aquarium Nitrogen Cycle Explained
Stage 1: Ammonia — The Starting Toxin
Ammonia enters your tank from fish waste, gill excretion, uneaten food, and decaying plant matter. Even at 0.5 ppm it damages fish gills and suppresses the immune system. In a new, uncycled tank, ammonia has nowhere to go — it just builds.
Stage 2: Nitrite — The Hidden Danger
Nitrosomonas bacteria colonize your filter media and convert ammonia into nitrite. This feels like progress, but nitrite is equally dangerous — it interferes with hemoglobin’s ability to carry oxygen, causing what’s known as brown blood disease. Nitrite spikes are the second wave of toxicity that catches beginners off guard.
Stage 3: Nitrate — The Safe End Product
Nitrospira bacteria (and to a lesser extent Nitrobacter) convert nitrite into nitrate, which is far less toxic and manageable through regular water changes. Scientists have also identified Candidatus Nitrospira inopinata, a “comammox” bacterium capable of performing both conversion steps on its own, and it likely plays a meaningful role in mature aquarium biofilters.
The flow: Ammonia → Nitrite → Nitrate
Why Cycling Takes So Long — and How Jump-Starting Works
Nitrifying bacteria are slow growers. Their doubling time is 8–24 hours, compared to minutes for the bacteria in yogurt. That slow reproduction rate is why cycling takes weeks from scratch. Every jump-start method is really just a way to get more of these bacteria into your tank faster. They also live attached to surfaces in biofilms rather than floating in the water column, which is why your filter media matters far more than the water itself.
Ideal Water Parameters for Fast Cycling
Temperature
Nitrifying bacteria are most active between 77–86°F (25–30°C). For fishless cycling, set your aquarium heater to 80–82°F (27–28°C) to push bacterial growth as fast as biology allows. Below 65°F (18°C) the cycle slows dramatically. Below 50°F (10°C) it essentially stops.
pH and KH: Why Alkalinity Matters
The sweet spot for nitrifying bacteria is slightly alkaline water — pH 7.2–8.0. They’ll work in the 6.5–8.5 range, but below 6.0 things slow significantly, and below 5.5 nitrification nearly halts.
Here’s a trap many beginners fall into: the nitrification process itself consumes alkalinity, which causes pH to drop mid-cycle. If your KH (carbonate hardness) is low to begin with, you can hit a pH crash that stalls everything just when progress seemed imminent. Target a KH of 4–8 dKH. For soft-water tanks, a small piece of crushed coral in the filter or a pinch of baking soda can stabilize things.
Ammonia Dosing Targets
For fishless cycling, dose ammonia to 2–4 ppm. Going higher isn’t better — concentrations above 8 ppm can actually inhibit the bacteria you’re trying to cultivate. Redose when ammonia drops below 1 ppm to keep the colony fed and growing.
Dissolved Oxygen
Nitrifying bacteria are obligate aerobes — no oxygen, no nitrification. Run an air stone throughout the entire cycle and ensure your filter creates surface agitation for gas exchange. Optimal dissolved oxygen is 6–8 mg/L; dropping below 2 mg/L will stall the cycle even if everything else is perfect. (Tetra Whisper Air Pump)
Parameter Reference Table
| Parameter | During Cycling | Fully Cycled |
|---|---|---|
| Ammonia | Peaks then drops | 0 ppm (within 24 hrs of dosing) |
| Nitrite | Spikes after ammonia drops | 0 ppm |
| Nitrate | Rises as cycle progresses | Detectable and rising |
| Temperature | 80–82°F (27–28°C) | Match target species |
| pH | 7.2–8.0 | 7.0–8.0 |
| KH | 4–8 dKH | 4–8 dKH |
Tank Setup: Building the Best Environment for Beneficial Bacteria
Filter Media
Your filter media hosts the vast majority of your tank’s nitrifying bacteria. The more porous surface area it provides, the larger the colony it can support. Ranked from most to least effective:
- Ceramic bio-rings (e.g., Seachem Matrix, Fluval BioMax) — highly porous, excellent long-term media
- Sintered glass media (e.g., Siporax) — extremely high surface area per gram
- Fine-pore sponge — good colonization, easy to maintain
- Plastic bio-balls — decent surface area, widely used
- Filter floss/pads — least effective long-term; clogs and is often replaced, which removes bacteria
One rule above all others: never clean filter media with tap water. Chlorine kills your bacterial colony instantly. Always rinse in tank water or dechlorinated water.
Best Filter Types for Cycling
Sponge filters are ideal for cycling — they offer excellent bacterial surface area, gentle flow, and are nearly impossible to over-clean. HOB (hang-on-back) and canister filters both work well; canisters shine in larger tanks due to their higher media volume. Run whatever filter you’re using 24/7 throughout the cycle.
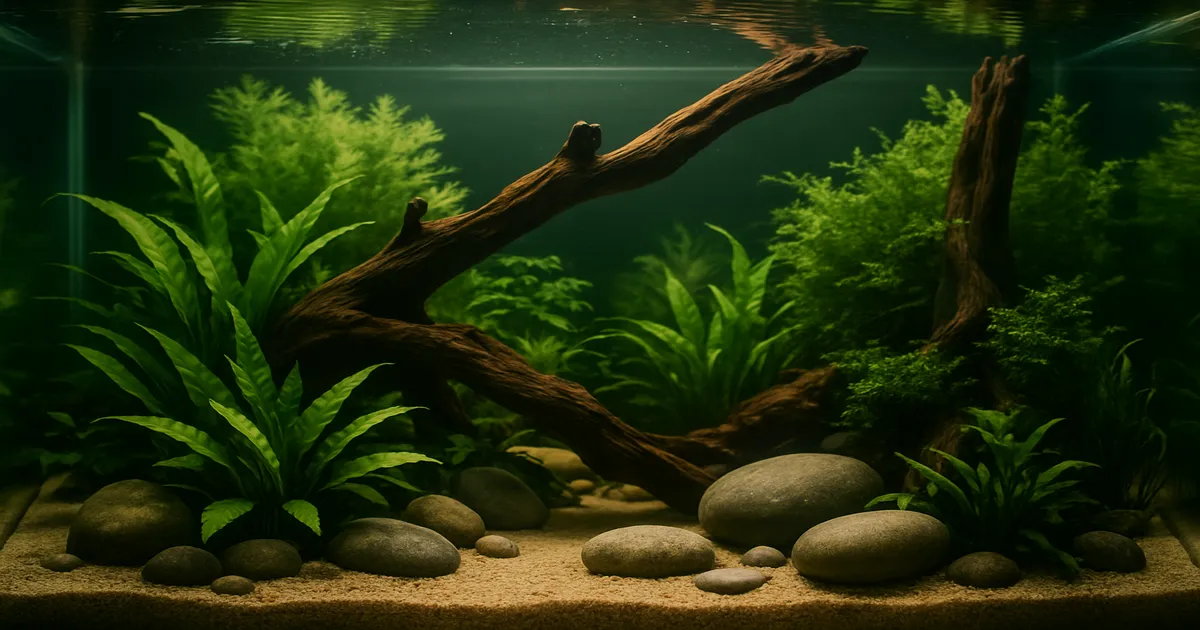
Substrate, Hardscape, and Aeration
Porous substrates like lava rock, Seachem Flourite, and standard aquarium gravel all add colonization surface area. Bare-bottom tanks cycle fine but depend more heavily on the filter. Avoid any substrate marketed with antibacterial coatings — they’ll work against you. Note that buffering substrates like ADA Aqua Soil can lower pH and KH, so monitor those parameters closely in soft-water setups.
Every surface in your tank — rocks, driftwood, ceramic decorations — contributes to bacterial biofilm. Porous materials like lava rock, pumice, dragon stone, and Seiryu stone offer significantly more surface area than smooth plastic decorations. Adding extra porous rock during cycling is a simple, free way to build bacterial capacity.
For flow, aim for 5–10× your tank volume per hour through the filter. Pair that with an air stone and ensure visible surface agitation. These aren’t optional extras — they’re the oxygen delivery system your bacteria depend on.
6 Methods to Jump Start Your Aquarium Cycle
Method 1: Seeded Filter Media Transfer (Fastest — Near Instant)
Transfer filter sponges, ceramic rings, or bio-media from an established, healthy tank directly into your new tank’s filter. You’re transplanting millions of established bacteria, and the colony can be productive almost immediately.
Speed: 24–72 hours in the best cases.
Protocol:
- Obtain media from a trusted, disease-free tank
- Place it directly into your new filter — don’t rinse it
- Dose ammonia to 2 ppm and test after 24 hours
- If both ammonia and nitrite read 0 ppm, you’re cycled
Pros: Fastest method available. No special products needed.
Cons: Real risk of transferring pathogens, parasites (ich, velvet), or pest species (planaria, hydra). Only use media from tanks you know and trust. Best practice is to pre-run spare media in an established tank for 2–4 weeks before transferring.
Best for: Experienced hobbyists with access to a healthy, established tank.
Method 2: Bottled Bacteria Products (Best for Most Hobbyists)
Commercial bottled bacteria products contain live nitrifying cultures. Added to your filter media, they seed the tank and begin processing ammonia within hours.
Speed: 1–2 weeks with a quality product and good conditions.
Top products:
- Dr. Tim’s Aquatics One & Only — developed by a leading nitrification researcher; among the most scientifically credible options
- Tetra SafeStart Plus — contains live Nitrosomonas and Nitrospira; well-tested
- Seachem Stability — broad-spectrum blend; widely available
- API Quick Start — budget-friendly and easy to find
Key tips:
- Check the expiration date — old product means dead bacteria
- Pour directly onto filter media, not just into the water column
- Disable UV sterilizers for at least two weeks after dosing
- Remove activated carbon during initial seeding
- Add an ammonia source immediately so the bacteria have something to eat
Best for: Most hobbyists, especially those without access to an established tank.
Method 3: Pure Ammonia Fishless Cycling (Most Reliable)
You add a pure ammonia source to an empty, fully set-up tank to feed bacteria without putting any fish at risk. This is the gold standard for methodical, stress-free cycling.
Speed: 2–6 weeks from scratch; faster when combined with Method 2.
Ammonia sources:
- Unscented household ammonia — shake test: no bubbles = no surfactants = safe to use
- Ammonium chloride (NH₄Cl) — the most reliable option; available as aquarium-specific products
Full protocol:
- Set up tank fully — filter running, heater at 80°F (27°C), dechlorinated water
- Dose ammonia to 2–4 ppm and confirm with a test kit
- Test daily; redose when ammonia drops below 1 ppm
- Watch for the nitrite spike (typically Week 1–2), then the appearance of nitrate
- When both ammonia and nitrite reach 0 ppm within 24 hours of a 2 ppm dose — you’re done
- Perform a 50–75% water change to reduce accumulated nitrate before adding fish
Best for: Anyone who wants a fully cycled tank before any fish go in.
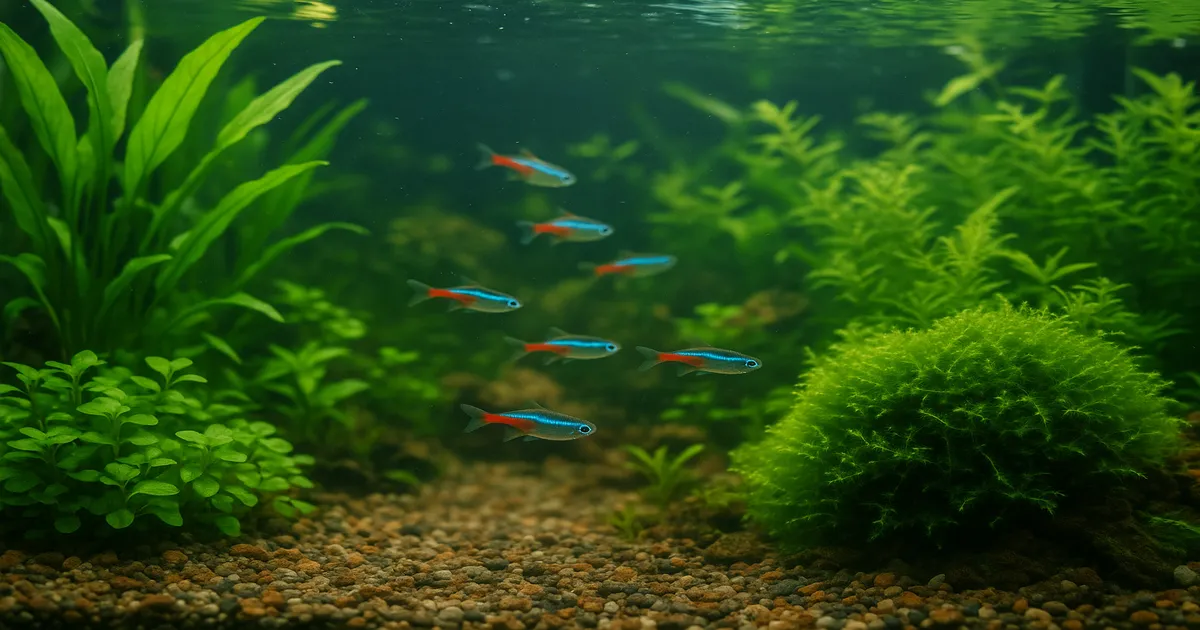
Method 4: Fish-In Cycling (Risky but Manageable)
Many beginners end up here by accident — they buy fish before understanding the cycle. It can be done safely, but it requires daily attention.
Mitigation strategies:
- Use Seachem Prime every 24–48 hours — it detoxifies ammonia and nitrite for approximately 48 hours while leaving them biologically available for bacteria
- Stock at no more than 1 inch of fish per 10 gallons initially
- Perform 25–30% water changes whenever ammonia or nitrite exceeds 0.5 ppm
- Choose hardy species: zebra danios and white cloud mountain minnows are the classic choices
- Never use sensitive species — discus, wild-caught fish, and altum angels will not survive this process
Combining fish-in cycling with a bottled bacteria product dramatically reduces the risk window. The fish still experience some stress, but the toxic phase is much shorter.
Best for: Beginners who already have fish in the tank and need to make the best of the situation.
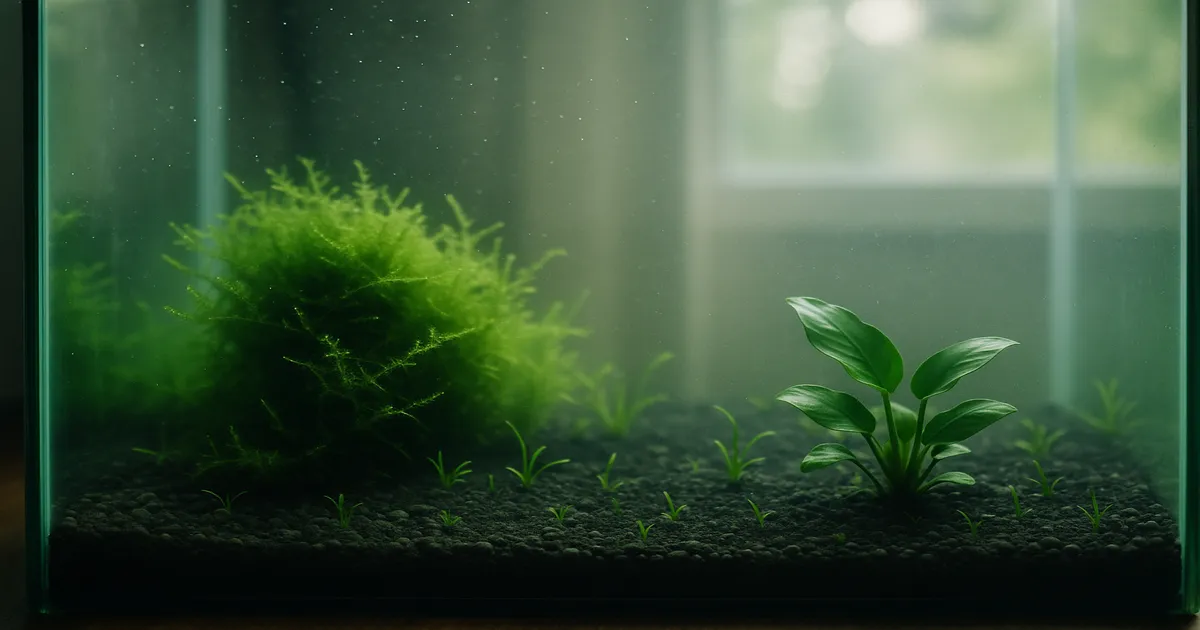
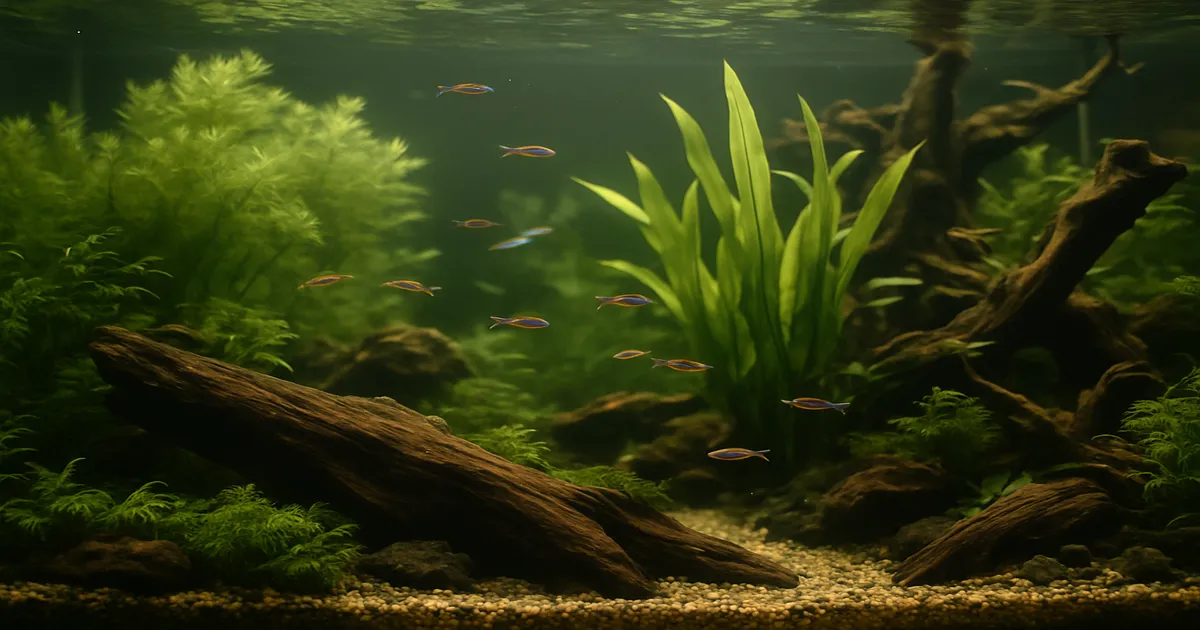
Method 5: The Planted Tank Silent Cycle
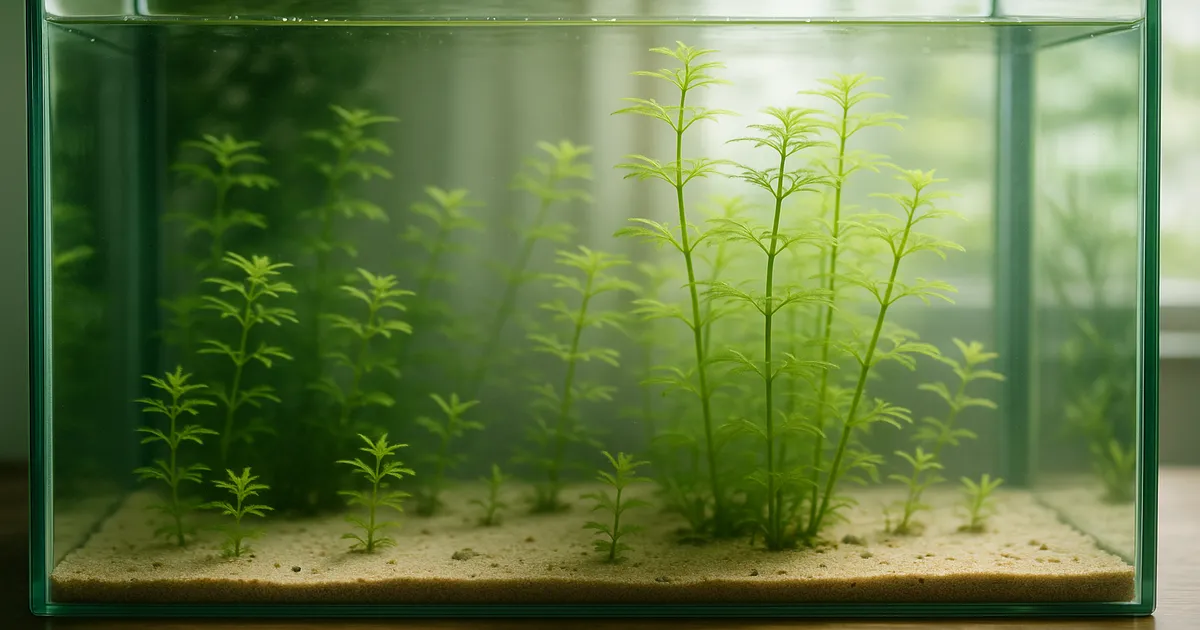
Dense, fast-growing plants absorb ammonia directly, keeping levels safe for fish while bacterial colonies establish gradually in the background. With enough plants, fish can sometimes be added almost immediately.
Best plants for this method: hornwort, water sprite, guppy grass, frogbit, water lettuce, duckweed.
Requirements: Heavy planting (aim for 80%+ coverage), good lighting, and light initial stocking. The plants must be actively growing — a dying plant dumps ammonia rather than absorbing it.
The key limitation: If plants crash or die, the bacterial colony may not be sufficient to handle the bioload on its own. This method works beautifully when conditions are right but can fail suddenly. Use it as a complement to other methods rather than a standalone strategy.
Best for: Planted tank enthusiasts with experience keeping fast-growing stem plants healthy.
Method 6: Substrate and Gravel Transfer
Transfer a cup or two of substrate from an established tank into your new tank’s filter or substrate layer. It’s less effective than filter media transfer — substrate holds fewer bacteria per gram — but it’s a useful supplement.
This method really shines when combined with bottled bacteria: the seeded gravel provides an established biofilm scaffold, and the bottled bacteria add numbers. Apply the same pathogen-transfer caution as with Method 1.
Best for: Use as a booster alongside Methods 2 or 3, not as a standalone approach.
What Kills Your Cycle: Mistakes to Avoid
Antibiotics and Medications
Antibiotics don’t discriminate — they kill nitrifying bacteria right along with pathogens. Never use them during cycling unless a fish’s life is genuinely at stake. If you must treat, be prepared to essentially restart the cycle afterward.
UV Sterilizers and Bottled Bacteria
UV sterilizers kill free-floating bacteria, which is exactly what you’re adding when you dose bottled bacteria. Disable the UV for at least two weeks after seeding. Once bacteria are established in the filter media biofilm, UV is no longer a threat to them.
Activated Carbon and Bacterial Additives
Activated carbon can adsorb some bacterial additives before they colonize the filter media. Remove carbon from the filter when adding bottled bacteria, and leave it out for at least the first week.
Chloramine-Treated Tap Water
Standard sodium thiosulfate dechlorinators neutralize chlorine but release the ammonia component of chloramine — which can spike your ammonia unpredictably. Use a full dechlorinator like Seachem Prime that neutralizes both. Always dechlorinate before adding water to a cycling tank.
Other Common Mistakes
- Overfeeding during fish-in cycling — excess food decays and spikes ammonia beyond what bacteria can process
- Cleaning filter media with tap water — kills your colony instantly
- Letting temperature drop — anything below 65°F (18°C) dramatically slows bacterial metabolism
- Ignoring pH/KH crashes — a mid-cycle pH drop below 6.5 will stall nitrification; test KH weekly during cycling
How to Know Your Tank Is Fully Cycled
The Three-Test Confirmation
Don’t guess — test. The definitive confirmation works like this:
- Dose 2 ppm ammonia
- Wait exactly 24 hours
- Test: ammonia must read 0 ppm, nitrite must read 0 ppm, and nitrate must be detectable and rising
All three conditions must be met simultaneously. Ammonia at zero but nitrite still present means Stage 2 bacteria haven’t caught up yet — keep waiting.
Liquid test kits are significantly more accurate than test strips. The API Freshwater Master Test Kit covers all the parameters you need and is the standard recommendation for good reason. For even greater precision, Salifert makes individual test kits popular with more advanced hobbyists.
One caveat for planted tank cyclers: plants consume nitrate, which can make it look like your cycle hasn’t progressed when it actually has. Use ammonia and nitrite as your primary indicators.
After the Cycle Is Complete
- Perform a 50–75% water change to bring accumulated nitrate down before adding fish
- Introduce fish gradually — adding too many at once can overwhelm a newly established colony
- Continue testing ammonia and nitrite weekly for the first month to catch any instability early
- Resist the urge to deep-clean the filter; the biofilm you’ve just spent weeks building is the whole point
Frequently Asked Questions
How long does it take to cycle a fish tank with bottled bacteria?
With a quality product like Dr. Tim’s One & Only or Tetra SafeStart Plus, most tanks cycle in 1–2 weeks rather than the typical 4–8 weeks from scratch. Results vary based on product freshness, water temperature, and whether you’re providing a consistent ammonia source throughout.
Can I add fish immediately after using bottled bacteria?
Not safely, no. Even with bottled bacteria, the colony needs time to establish and grow large enough to handle a full bioload. Wait until you’ve confirmed 0 ppm ammonia and 0 ppm nitrite within 24 hours of dosing — then add fish gradually over several weeks.
What is the fastest way to cycle a new aquarium?
The fastest method is transferring filter media from a healthy, established tank directly into your new filter. In ideal conditions, this can produce a cycled tank in 24–72 hours. Combining seeded media with a bottled bacteria product and keeping the temperature at 80–82°F (27–28°C) gives you the best possible odds of a rapid cycle.
Why did my ammonia spike again after I thought the tank was cycled?
A post-cycle ammonia spike usually means one of three things: you added too many fish at once and overwhelmed the bacterial colony, you disturbed or cleaned the filter media and lost bacteria, or a fish died and went unnoticed. Test daily for the first two weeks after adding fish, and introduce new livestock slowly.
Do I need a test kit, or can I use test strips?
A liquid test kit is strongly recommended. Test strips are notoriously inaccurate — they can show false “safe” readings during a genuine ammonia or nitrite spike. The API Freshwater Master Test Kit is the most widely recommended option for hobbyists at any level, and it covers every parameter you need to monitor during cycling.