Quick Answer: Yes, in most cases you can save a dying anubias — this is one of the most resilient plants in the hobby. As long as a single healthy, firm node remains on the rhizome, the plant can recover. The key is diagnosing the right problem fast and acting on it, because anubias grows slowly and damage compounds over time if left untreated.
If you’re staring at a yellowing, melting, or mushy anubias and wondering is it possible to save this anubias? — the answer is almost certainly yes. But “almost” matters here. Recovery depends entirely on how much healthy rhizome remains and whether you fix the underlying cause. A plant with a completely black, foul-smelling rhizome is beyond saving. One with even a short section of firm, green tissue? That’s worth fighting for.
Set realistic expectations upfront: anubias is naturally slow-growing, so recovery is measured in weeks to months, not days. Patience is part of the treatment plan.
Understanding Anubias: Why It Struggles and Why It Survives
Species Overview and Natural Habitat
Anubias originates from West and Central Africa — Cameroon, Nigeria, Gabon, and the Congo Basin — where it grows anchored to rocks, driftwood, and tree roots along shaded riverbanks and stream margins. The water there is typically warm, soft, tannin-stained, and slow-moving. That natural setting explains both the plant’s toughness and its specific vulnerabilities.
Most Common Species in the Hobby
| Species / Variant | Common Name | Best For |
|---|---|---|
| A. barteri var. nana | Anubias nana | Most popular; great all-rounder |
| A. barteri var. nana ‘Petite’ | Nana petite | Nano tanks, foreground |
| A. barteri var. barteri | Anubias barteri | Mid-to-large tanks |
| A. barteri var. coffeifolia | Coffeifolia | Distinctive ribbed leaves; striking centerpiece |
| A. gigantea | Giant anubias | Large background plant; 30+ gal tanks |
Why the “Indestructible” Label Causes Problems
The “bulletproof” reputation is a double-edged sword. Anubias genuinely tolerates low light, a wide pH range, and neglect better than most aquatic plants. But that reputation leads hobbyists to skip the basics — and when anubias finally crashes, it crashes hard. Rhizome rot doesn’t announce itself until it’s already well advanced.
How Anubias Is Sold and Why Purchase Form Matters
You’ll encounter anubias in three forms: tissue culture (TC) in sealed gel cups, potted in rockwool, or pre-attached to driftwood or rock. TC plants are grown emersed in sterile lab conditions and need time to transition to submersed growth — expect some leaf melt during the first few weeks. Potted plants often have rockwool packed tightly around the rhizome that must be gently removed before planting. Pre-attached plants are usually the easiest to acclimate, but always inspect the rhizome carefully at purchase.
Diagnosing the Problem: What Is Your Anubias Telling You?
Getting the diagnosis right is where most rescues succeed or fail.
Rhizome Rot: The Most Serious Emergency
A mushy, dark brown or black rhizome with a foul smell is rhizome rot — the most urgent problem anubias can have. Leaves may detach at the slightest touch, and roots turn slimy. Common causes include a buried rhizome, poor water quality, bacterial infection, or stagnant water around the stem. Act immediately, because rot spreads fast.
Melting Leaves: New Plant Transition vs. Real Damage
If you’ve just added a TC plant and leaves are melting, that’s almost always normal. TC plants are grown above water and must rebuild their leaf structure for submersed life. Old emersed leaves die back while new submersed leaves push through — give it four to six weeks before worrying. If an established plant is melting, check ammonia first.
Yellowing Leaves: Nutrient Deficiency or Water Quality?
The pattern of yellowing tells you a lot:
- Uniform yellowing of older leaves → nitrogen deficiency or elevated nitrates
- Yellowing between leaf veins on new growth (veins stay green) → iron or manganese deficiency
- Yellow edges with pinhole damage → potassium deficiency
Always test your water before assuming a nutrient problem. Ammonia toxicity looks almost identical to nitrogen deficiency but requires a completely different response.
Black Beard Algae on Leaves
Black beard algae (BBA) — that dark, tufted growth that seems to target anubias specifically — is almost always a sign of excess light relative to available CO₂. Because anubias grows so slowly, it can’t outcompete algae for nutrients. BBA won’t kill the plant directly, but it will smother leaves over time if left unchecked.
Pinhole Holes and Leaf Edge Damage
Small holes appearing in otherwise healthy leaves point to potassium deficiency. This is the most commonly overlooked nutrient gap in anubias tanks, especially in low-tech setups without regular fertilization.
No Growth at All
Complete stagnation — no new leaves for months — usually means the plant is light- or CO₂-limited, or both. Anubias is slow by nature, but it should push a new leaf every four to eight weeks under decent conditions.
Is It Possible to Save This Anubias? A Step-by-Step Rescue Plan
Step 1 — Test Your Water First
Before touching the plant, run a full water test. Check ammonia, nitrite, nitrate, and pH. A liquid test kit gives the most accurate readings — the API Freshwater Master Test Kit is a reliable and affordable option. Ammonia above 0 ppm is a plant emergency. Fix that before anything else, because there’s no point rescuing the plant and returning it to the same toxic water.
Step 2 — Remove and Inspect the Plant
Take the plant out and examine the rhizome under good light. Healthy rhizome is firm and greenish to light brown. Rotted tissue is soft, dark, and often smells bad. Be honest about what you’re seeing — false hope at this stage only costs you time.
Step 3 — Treat Rhizome Rot by Cutting and Disinfecting
- Using sterile scissors or a clean razor blade, cut away all rotted tissue. Keep cutting until you reach only firm, healthy rhizome — don’t stop at the edge of the rot.
- Dip cut surfaces in 3% hydrogen peroxide for 30–60 seconds, then rinse thoroughly with dechlorinated water.
- Optionally, follow with a diluted potassium permanganate soak (10 mg/L for 10–15 minutes) for broader antimicrobial coverage.
- Let the cut ends air-dry for five to ten minutes before reattaching.
Step 4 — Reattach to Hardscape Correctly
Tie or glue the healthy rhizome to driftwood or rock — never bury it. Aquarium-safe cyanoacrylate gel (super glue gel) is the most secure option and cures safely underwater. Seachem Flourish Glue works well and is widely available. Cotton thread is a good alternative and biodegrades harmlessly once roots take hold. Give roots four to eight weeks to grip the hardscape on their own.
Step 5 — Treat Black Beard Algae on Leaves
Remove affected leaves from the tank. With the plant out of water, spot-treat BBA directly with undiluted 3% hydrogen peroxide using a small brush or syringe — let it sit for one to two minutes, then rinse. Alternatively, apply liquid carbon directly to the algae while the leaf is above water. Seachem Flourish Excel is the most commonly used product for this. BBA will turn red or white within a day or two, then die off.
Step 6 — Address Nutrient Deficiencies
Start with a half-dose all-in-one liquid fertilizer dosed once or twice per week. Aquarium Co-Op Easy Green is a popular choice for low-tech tanks and covers most macro and micronutrient needs. Don’t jump to full dosing — anubias is a light feeder and excess nutrients just fuel algae growth.
Step 7 — Optimise Light and Flow
Dial your light back to 20–40 PAR and stick to an eight-to-ten-hour photoperiod. High-intensity lighting without CO₂ injection is the most reliable recipe for a BBA outbreak — reduce intensity first if that’s your situation. Also ensure there’s gentle water movement around the plant; stagnant pockets around the rhizome encourage rot.
What to Expect During Recovery
New leaf growth is your signal that the rescue worked. Don’t expect it overnight. A stressed plant may take four to eight weeks to show any new growth at all. Stay consistent with water changes and fertilization, and resist the urge to intervene again before you’ve given it enough time.
Water Parameters for a Healthy Anubias
Anubias is genuinely adaptable and handles a wide range of conditions — a real advantage for hobbyists on hard tap water.
| Parameter | Acceptable Range | Optimal Range |
|---|---|---|
| pH | 6.0–8.0 | 6.5–7.5 |
| GH | 1–20 dGH | 3–12 dGH |
| KH | 1–10 dKH | 2–6 dKH |
| Temperature | 68–86°F (20–30°C) | 72–82°F (22–28°C) |
| Ammonia | 0 ppm | 0 ppm |
| Nitrite | 0 ppm | 0 ppm |
| Nitrate | Up to ~50 ppm tolerated | Below 20 ppm preferred |
| CO₂ | Not required | 15–30 ppm beneficial |
Even a brief ammonia spike can cause rapid leaf melt and root damage. The plant looks fine, then suddenly collapses — and ammonia is almost always the culprit that gets overlooked because hobbyists assume it’s a nutrient or light problem. Test ammonia first, every time.
Nitrates above 40–50 ppm over extended periods will cause yellowing and reduced vigour. CO₂ injection isn’t required, but it noticeably improves leaf quality and growth rate, especially under medium-intensity lighting. Very low KH (below 1 dKH) causes pH swings that stress the plant even when the average pH looks fine.
Tank Setup: Keeping Anubias Thriving Long-Term
The Golden Rule: Never Bury the Rhizome
This single mistake kills more anubias than anything else. The rhizome — the thick horizontal stem connecting leaves and roots — must remain fully exposed. Roots can extend into substrate; the rhizome cannot. Bury it and it will rot, usually within weeks.
Attaching Anubias to Driftwood and Rocks
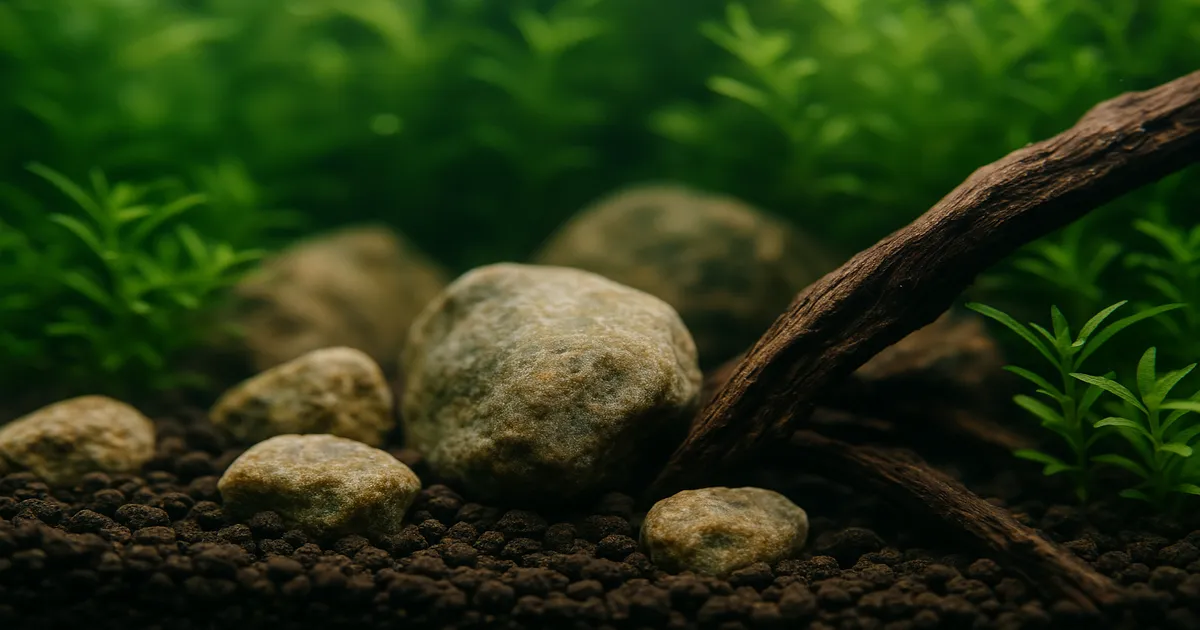
Good hardscape choices include spiderwood, mopani driftwood, lava rock, dragon stone, and seiryu stone. Attachment options:
- Cyanoacrylate gel — most secure; safe once cured
- Cotton thread — biodegrades naturally; no removal needed
- Fishing line — durable; trim once roots have gripped
- Zip ties — functional but not the most attractive option
Lighting and the BBA Connection
Aim for 20–40 PAR and an eight-to-ten-hour photoperiod. High-intensity lighting without CO₂ is the most reliable recipe for a BBA infestation on anubias leaves — the plant simply can’t grow fast enough to use the available light energy, and algae fills the gap. When in doubt, go dimmer.
Filtration and Flow
Anubias prefers gentle to moderate flow, reflecting its natural slow-water habitat. Any standard filter works: sponge filters for nano and shrimp tanks, HOB filters for mid-size setups, canisters for larger tanks. The priority is maintaining ammonia and nitrite at zero through solid biological filtration.
Tank Size Guidelines by Species
- Nana petite: 5 gallons (19 L) and up
- Anubias nana / barteri: 10 gallons (38 L) and up
- Coffeifolia, hastifolia: 20 gallons (75 L) and up
- Gigantea: 30 gallons (113 L) and up
Feeding and Fertilizing Anubias
Anubias is primarily a water-column feeder — it takes up most nutrients through its leaves and rhizome rather than its roots. This makes liquid fertilizers far more effective than root tabs for this plant, though root tabs placed near (not under) the rhizome can provide a useful supplement.
In a stocked tank, fish waste typically covers nitrogen needs. Phosphorus is usually adequate from food breakdown. Potassium is the most commonly deficient macronutrient in anubias tanks — it’s often absent from tap water and not supplied by fish waste in meaningful quantities. Pinhole damage in leaves is the tell-tale sign.
Iron deficiency shows up as interveinal chlorosis on new growth — the leaf yellows while the veins stay green. Manganese deficiency looks similar and can be hard to distinguish without targeted supplementation. Both are addressed by a quality all-in-one liquid fertilizer.
Deficiency Symptom Quick-Reference
| Visual Symptom | Likely Deficiency |
|---|---|
| Yellow new leaves, green veins | Iron (Fe) or Manganese (Mn) |
| Uniform yellowing of old leaves | Nitrogen (N) |
| Pinhole holes in leaf blade | Potassium (K) |
| Purple/reddish leaf undersides | Phosphorus (P) |
| Transparent or mushy leaves | Ammonia toxicity — not a nutrient issue |
| No new growth | CO₂, light, or overall nutrient limitation |
Tank Mates: What Lives Well With Anubias
Compatible Fish and Invertebrates
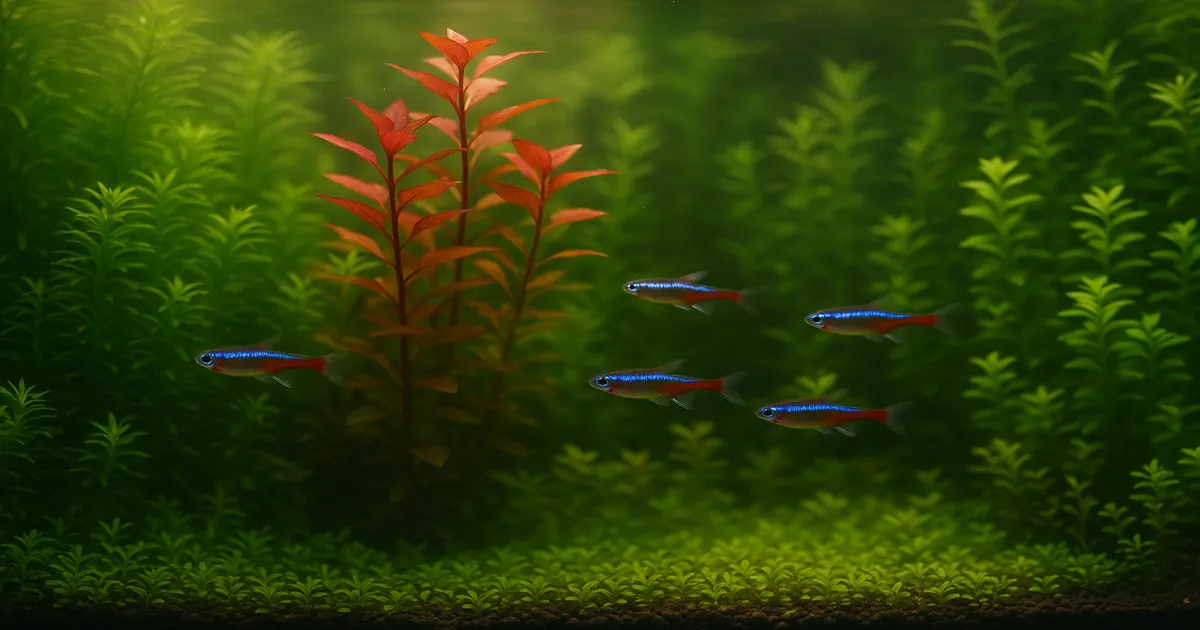
Anubias pairs beautifully with peaceful community fish. Small tetras (neon, cardinal, ember), rasboras, corydoras, and dwarf gouramis all coexist without touching the plant. Bettas actively enjoy resting on the broad leaves. Otocinclus catfish are particularly valuable — they graze algae directly off anubias leaves without causing any damage.
Species That Will Damage Anubias
Avoid goldfish, large cichlids (oscars, Jack Dempseys), silver dollars, Buenos Aires tetras, mbuna cichlids, and crayfish. These species will nibble, uproot, or shred the plant. Common plecos and sailfin plecos can rasp and scar anubias leaves — bristlenose and clown plecos are much safer alternatives.
Shrimp, Snails, and the Pesticide Warning
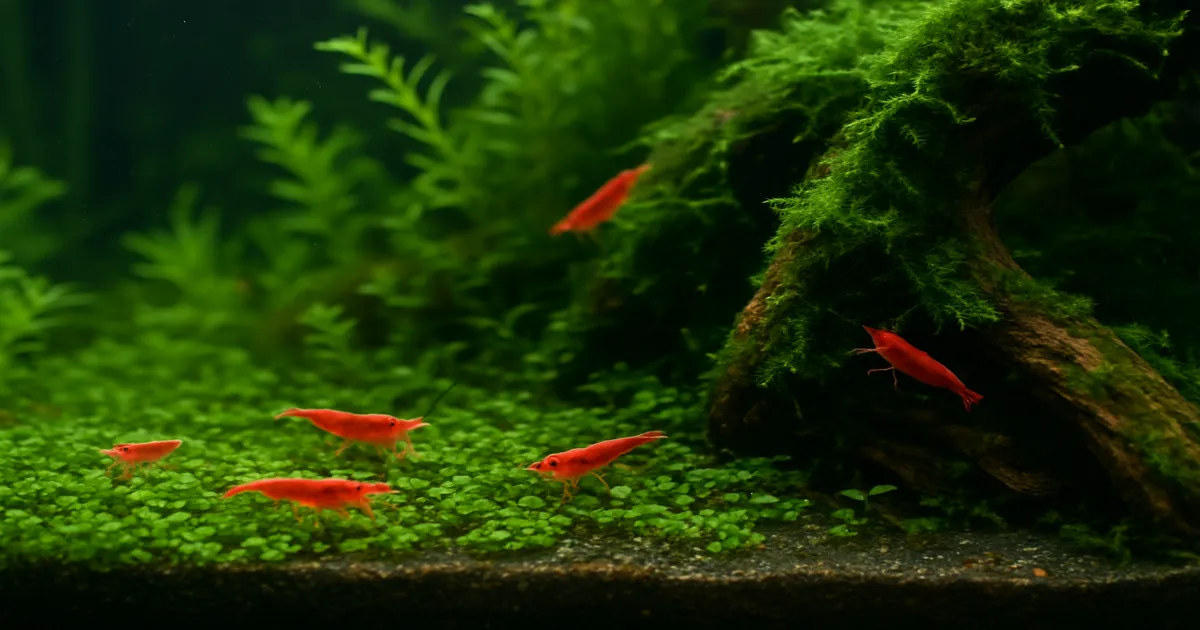
Cherry shrimp, amano shrimp, and nerite snails are excellent companions. They graze biofilm and algae from the leaf surface, which is genuinely helpful given how prone anubias is to BBA and green spot algae.
One important caution: non-TC anubias purchased from fish stores may carry pesticide residue that is lethal to invertebrates, even in trace amounts. If you keep shrimp, always use tissue culture plants or quarantine non-TC plants in a fish-only tank for at least four to six weeks before introducing them to a shrimp setup.
Compatible Plants
Java fern, Java moss, Bucephalandra, Bolbitis heudelotii, and Cryptocoryne species all share similar low-light, low-maintenance requirements and look stunning alongside anubias. These combinations create a natural, cohesive aquascape without competing care demands.
Propagating Anubias: Turning One Plant Into Many
In the home aquarium, the only practical propagation method is rhizome division. Anubias can flower when grown emersed, but underwater flowering is rare and seed propagation is not realistic for hobbyists.
Rhizome Division: Step-by-Step
- Identify a healthy rhizome with multiple nodes (the points where leaves emerge).
- Using sterile scissors, cut the rhizome cleanly between nodes.
- Treat cut surfaces with 3% hydrogen peroxide for 30–60 seconds, then rinse and air-dry briefly.
- Reattach each division to hardscape, ensuring the rhizome is fully exposed.
Each division should retain at least two to three nodes to give it the best chance of establishing quickly. A single-node cutting can survive, but recovery will be slower.
Frequently Asked Questions
Can anubias grow fully submerged? Yes — anubias grows well fully submerged and is one of the most popular true aquatic plants in the hobby. It can also be grown emersed (with leaves above the waterline) in paludariums and terrariums, where it tends to grow slightly faster.
Is it possible to save this anubias if the rhizome is completely black? Unfortunately, no. A fully black, mushy, foul-smelling rhizome with no firm tissue remaining cannot be saved. However, if even a short section of firm, green rhizome remains — even without leaves — that section is worth treating and replanting.
Why does my anubias keep getting black beard algae? BBA on anubias almost always comes down to too much light for the available CO₂. Reduce your photoperiod to eight hours, lower light intensity to 20–40 PAR, and spot-treat existing BBA with hydrogen peroxide or liquid carbon. Adding fast-growing stem plants to compete with algae can also help.
How often should I fertilize anubias? In a lightly stocked tank, dose a half-strength all-in-one liquid fertilizer once or twice per week. In a heavily stocked tank, fish waste may be sufficient — watch for deficiency symptoms (yellowing, pinholes) and only add fertilizer if they appear.
Can I plant anubias in substrate? You can place the roots in substrate, but the rhizome must remain fully above it. The safest approach is to attach the plant to hardscape and let the roots naturally extend into the substrate on their own over time.